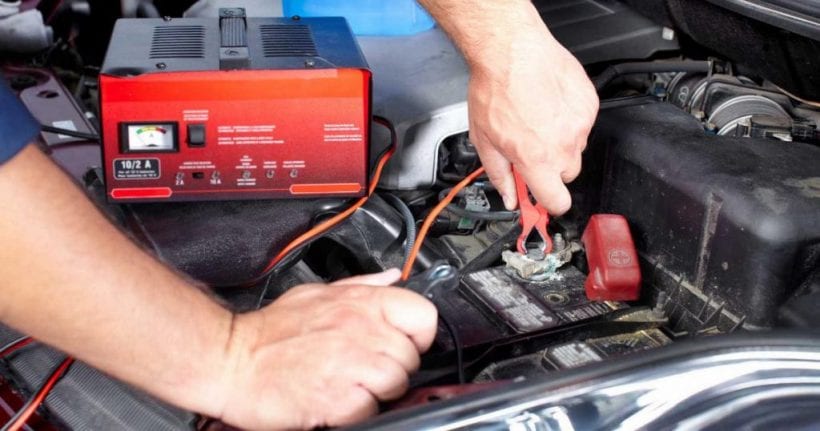
Whether you’ve come back to your vehicle after work or from a day out shopping and noticed that the engine won’t turn over, or if you’ve left your lights on — there’s a good chance you’re dealing with a flat battery.
Of course, this can be quite worrisome and stressful, especially if there’s somewhere you need to be or if you’re not sure what to do when you have a flat battery, though rest assured charging a car battery isn’t too complicated.
Enji.com.au advises that you keep in mind though, charging your flat car battery or a low battery is a little more complicated than just plugging it into a charger or jumper cables — particularly if you want to charge the battery in a safe way.
For starters, you must always know which terminal is which, and which battery terminals to hook up to your battery charger among other things.
That said, let’s take a look below at how to charge a car battery.
Prepping the Battery for Charging
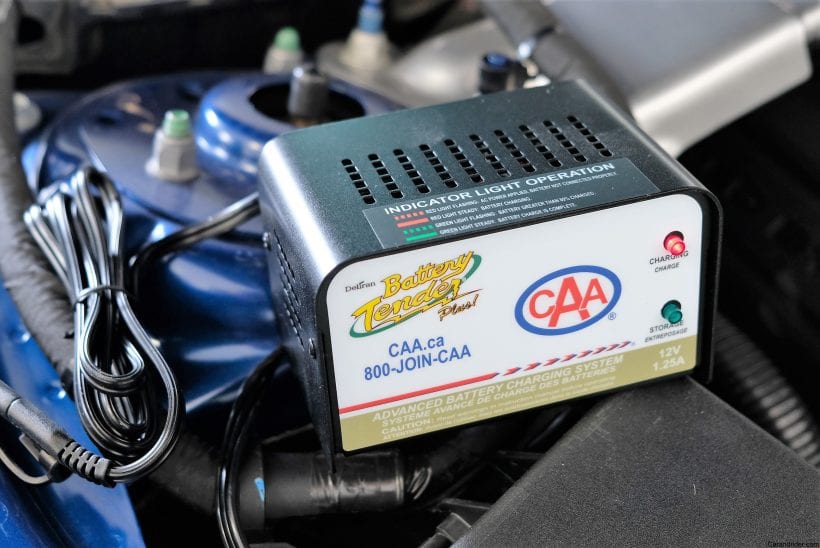
Off the top, you’ll need to do a little bit of prep work when it comes to charging your car’s battery.
If you don’t follow the right checklist for battery charging, you’re running the risk of damaging your battery or getting an electric shock if you find that your battery isn’t entirely dead.
That in mind, your first step will be to safely remove the battery with the tools recommended by the manufacturer. This process will depend on your make and model, so be sure to take a look at your user manual or Google your car’s make and model and determine how to safely remove the battery.
Once you’ve removed the battery you can either move on to charging, or if you’re looking to jumpstart your car battery, keep on reading.
Jumping Your Car Battery
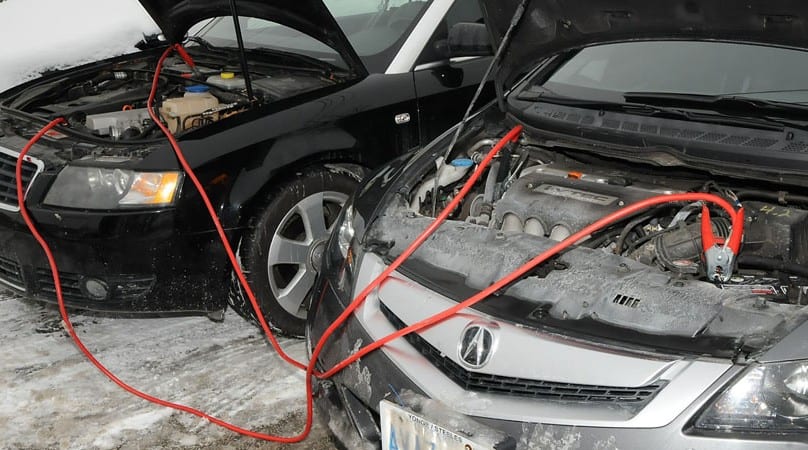
When it comes to jump starting your car, and the battery, you’ll want to make absolutely certain you’re doing everything as safely as possible. For more help with this check dunkermotor.com. There’s little room for error here after all.
For the first step, you’ll want to make sure every accessory is turned off before you jump start the car. As an example, all your lights should be off, as should the stereo, the GPS and other battery-reliant things.
If these features and accessories aren’t switched off, you’re running the risk of your battery arcing as you try to jump start it, which could be deadly.
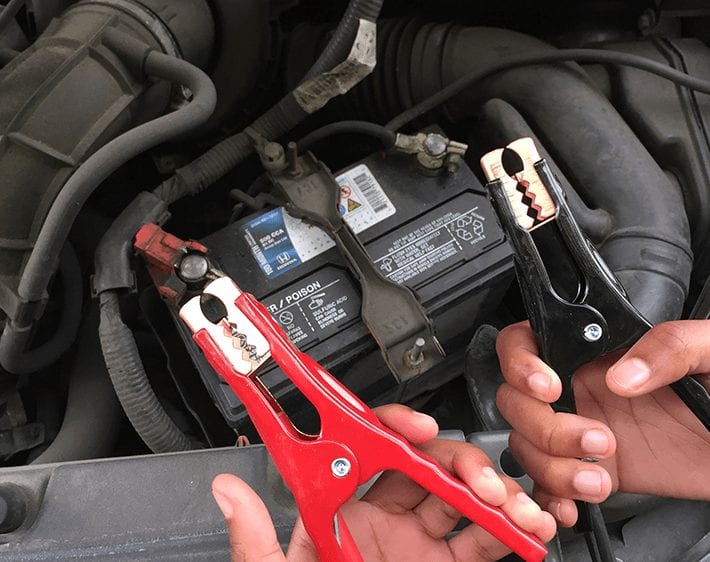
When all of these accessories are off, you can pop the hood and find the battery and work on removing the ground cable or the negative. Typically this will always be the black cable, unless someone has worked on your vehicle and replaced this wire or changed it to another colour.
To help you out, the negative or the ground cable will be connected to the battery where there is a negative (-) symbol. The positive cables will have the positive (+) sign and you’ll be able to remove this second.
Once you’ve removed these cables, work on cleaning the terminals, especially if there’s any build up of battery acid or anything else on here. We suggest you try your hand at a baking soda and water mixture to do this as it’s an easy at-home battery acid neutraliser.
It’s always a good idea to clean these terminals with eye protection and a mask on too.
When these battery terminals have been cleaned, you can then remove the caps (if your vehicle has any) and work on checking the level of water inside the battery. If the battery’s water level is low, you’ll need to add some extra distilled water here and fill it up to the fill line.
Keep in mind that a modern battery won’t have this distilled water requirement and you also won’t be able to open these ones either.
Connecting the Battery Charger or Jumper Cables
With all of the battery cleaning tasks out of the way, you’ll then be able to move on to charging the battery.
For this task to be done as safely as possible, you’ll need to find some instructions for your charger and your specific battery. However, we have some quick tips that are common for just about all battery chargers and jumpers below:
- Always start with the charger off
- Connect the positive cable to the positive battery terminal first
- Connect the negative cable to the negative battery terminal second
- Choose your battery charger’s charge rate (dictated by the instructions)
- It’s always best to choose the slowest charging rate first
- Switch your battery charger on and choose the time you’d like to charge for.
Once you’ve charged your battery, or the timer has completed, turn off the charger and remove the positive cable first and then the negative second.
How Long to Charge a Car Battery
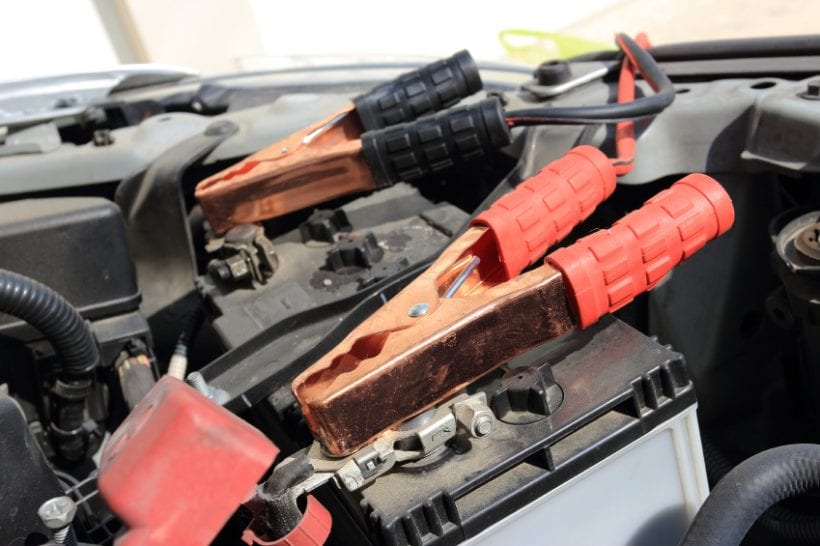
To end our article, we’ll take a look at how long you should charge your car battery for.
It’s good to keep in mind that if your battery’s voltage has fallen down to 11.85 or below, then you’re going to need to charge the battery for around 12 hours at 5-amps for it to charge completely.
If you have a 10-amp charger, the battery will take around six hours to charge, and so on.
For batteries that may have poorly performing or ‘dead’ battery cells, the charger will not charge the battery or the battery won’t hold a charge. This will mean you need a new battery, or to have your roadside assist partner provide you with a new battery.

