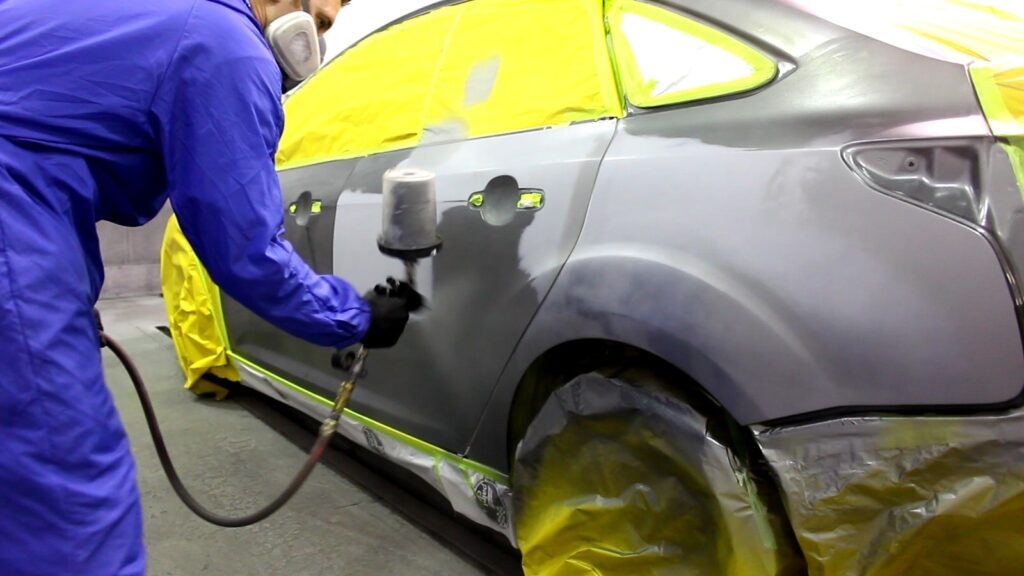
Spray painting a car is one of the most exciting things you can do in your garage. You get to make it look like whatever you want! And if you’re doing this for money, then it’s even more exciting because there are so many different types of paint jobs that will bring in lots of cash.
That’s why we’ve put together an easy-to-follow guide on how to spray paint a car with all the important steps and information you need to know before getting started. Check out our blog post now by scrolling down below!
Prepare the Jobsite
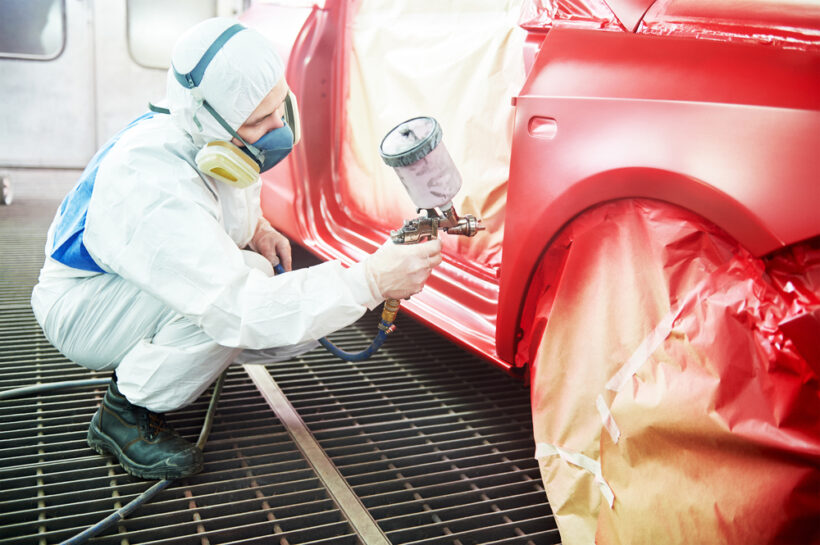
Before we can start the painting process, we need to ensure that you have all the necessary tools and materials prepared. Start with gathering the essentials, then prepare the surroundings so that it doesn’t create any mess.
Essentials Needed
If you are doing a whole car body paint, it will take a lot of different materials due to the sheer amount of area you need to cover and the diversity of the car body panels. However, I’ll list the common ones that everyone must have-
- Paint
- Paint Sprayer
- Duct Tape
- Plastic Sheets
- Sandpapers and sanding blocks
- Buffer
- Waxing Compound
Apart from these, you may need other items as well depending on the specific paint or type of your car. According to Car Sumu, spray paint cans are better for small paint area. So, if you are not into a full body paint, you can consider that.
Prepare the Surroundings
The first thing to do before anything else is to protect the surrounding where you are going to paint the car. Use plastic sheets to cover the floor and any other areas you don’t want paint on.
You can also place tarpaulins or an old blanket around it as well, but I would recommend using something that’s disposable for this so that it doesn’t cause a mess later.
Next is cleaning up your garage space if there are things lying around. This will prevent the paint from spreading and also help you keep it clean.
Step by Step Guide to Spray Paint a Car

Ready for Painting?
Once everything is prepared, we can now start with actually painting your car! Are you ready to learn how to spray paint a car with our step-by-step guide below? Read on as I’ll show you exactly what to do from start to finish.
Step 1: Masking the Parts You Don’t Want Paint On
The first step is masking off all the parts of your car that you don’t want paint on or touching with some duct tape and plastic sheets, ensuring they are fastened tightly so it doesn’t come loose during the spraying process. Be very careful when doing this because if you make any mistakes, it will be very difficult to correct them.
Step 2: Sanding the Car Body
Once the masking is done, now we are ready for sanding down your car body with some high-grit sandpaper and a buffer so that the paint sticks well onto it. This step usually requires a bit of stamina as it can be tiring. Doing this with an electric sander is the best, but sandpaper is the most economical choice for DIYers.
Cleaning up any dust or dirt with a damp cloth is also essential after this step so that it doesn’t affect your painting process later on.
Step 3: Washing Your Car Body
Once you’re done with all of these steps, we can now water down the car body with a pressure washer. Just spray it directly onto your car and let it dry up naturally.
Doing this before you paint will help remove any dust, dirt, oil spills, and other contaminants on the surface so that they don’t affect how well the paint sticks to its exterior later on.
Step 4: Prepare the Paint
It’s now time to paint the exterior of your car! Start with putting down plastic sheets on the floor where you are going to spray them so that they don’t get dirty. Then, mix up your paint in a spray bottle- not too much or little but just enough for spraying purposes.
Step 5: Spray Paint Your Car by Mist Blasting
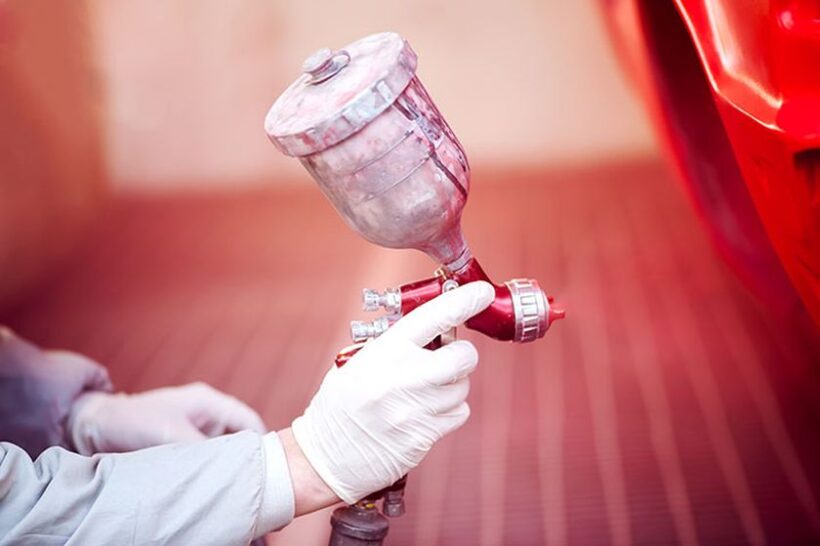
Start spraying your car with a mist-like motion, ensuring you cover all its surfaces evenly. It’s advisable to work from the top down so that any drips or spills will be below it instead of reaching places where they shouldn’t go.
Once you’re done, let them dry for about an hour before removing the masking tapes.
Step 6: Waxing and Buffing
After removing the masking tapes, it’s now time to apply wax on your car where you used paint. Soak a clean cloth with some water first before applying- this will help remove any residual dirt and make the process easier.
This step helps protect against chipping or fading of your exterior coat so that you can enjoy them for a longer period of time.
Pro Tips for the Beginners
While the process look simple, it can get really messy within moments if you are not aware of what you are doing. That’s why you should follow these tips while painting car-
- Always wear gloves, eye protection, and other PPE gear to prevent any injuries.
- Wear old clothes that you don’t mind getting stained with paint as they will definitely get dirty fast.
- Be very careful while handling the spray bottle- make sure not to squeeze it too harshly otherwise, it might spill or cause an accident later on.
- Before applying the paint on the car, apply some on the ground to see if the spray is correctly configured.
- Do not overspray in an area, make it uniform so that the paint blends perfectly.
- Ensure that there’s no wind while spraying so that dust doesn’t get blown into your paints.
Conclusion
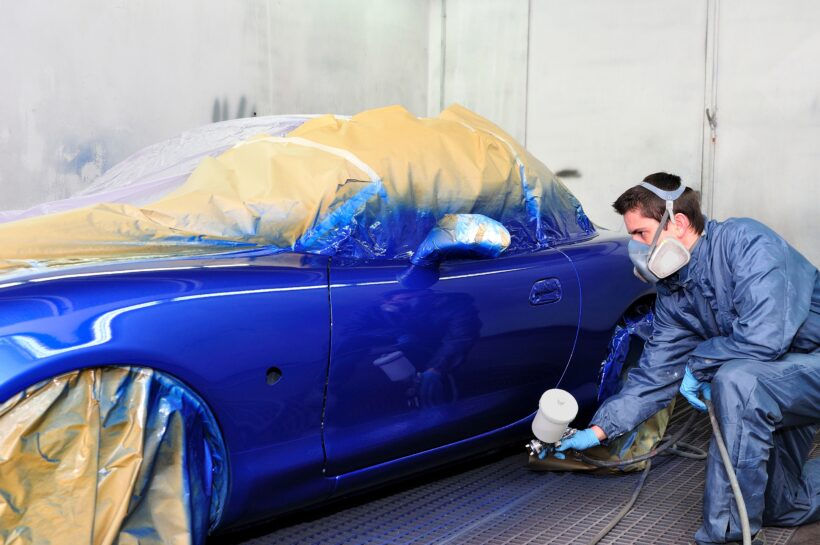
If you’re looking for a simpler way to paint your car without the need for professional assistance, this guide is tailor-made for you.
We’ve covered all the basics from start to finish about how to prepare your paint and apply it to your exterior.
You’ll also learn what kind of gear will be necessary as well as some pro tips that will make painting an easier process overall. Be sure not to rush through any step either!
From masking off parts of your car body with plastic sheets or sanding down it first before spraying paint, these are just some little steps that could save you hours by doing them beforehand. Happy Painting!

