Even the most skilled auto enthusiast or mechanically inclined pro must take the proper precautions when operating on a vehicle, whether it’s their personal property or a customer’s prized possession.
Malfunctioning or otherwise underperforming headlights are not only annoying—they can put you in a vulnerable situation.
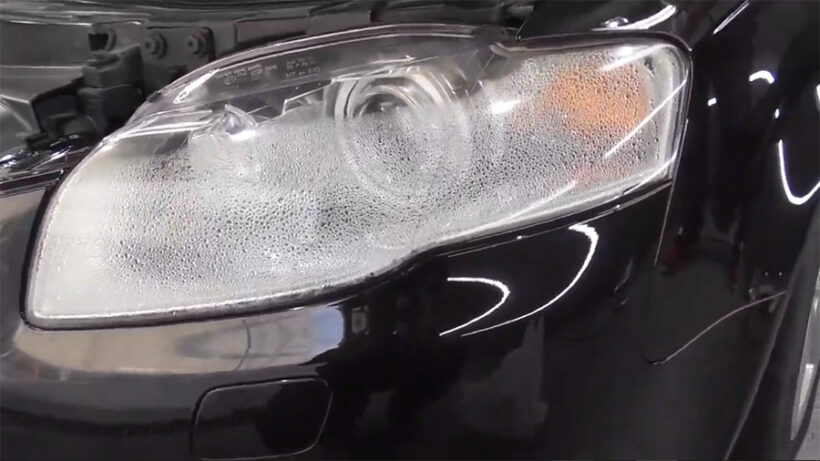
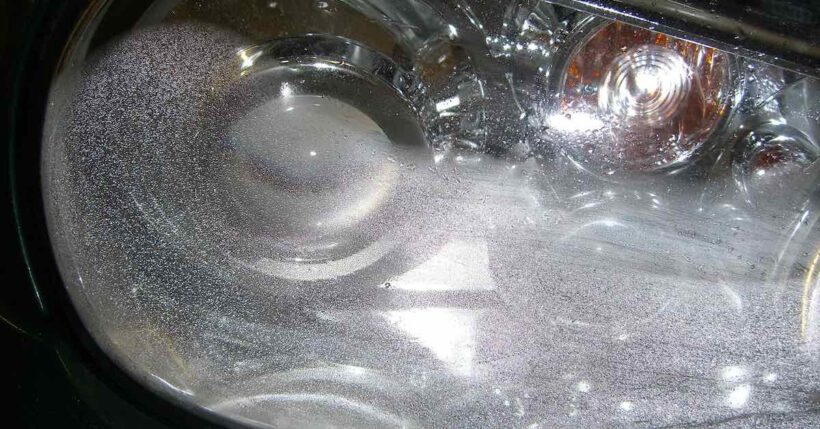
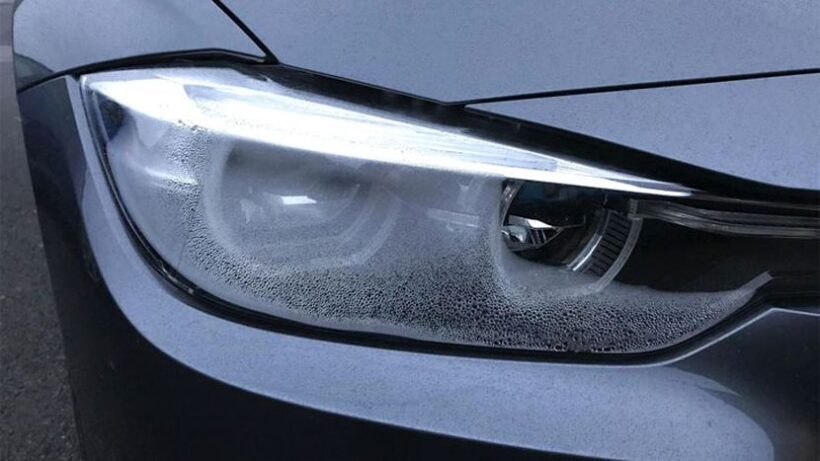
If your car or truck’s headlights are obscured by errant water/moisture, your visibility on the road in dark or inclement weather conditions can put you (as well as others on the road) in harm’s way.
Dangerously dimmed lights or even blind spots can appear as a result of this trapped moisture.
Repairing and replacing headlights may not sound too overwhelming (depending upon your particular level of prowess), but it’s a challenge you want to be sure you’re confident in tackling appropriately. Otherwise, you’re risking damage to the vehicle, as well as potentially injuring yourself.
Assess the Problem

The first thing you’ll want to do is figure out what the problem may be. Just like a surgeon, carefully assessing the current condition, pinpointing the issue, and developing a plan of action are the steps you should take before actually “going in” to correct the problem.
- Evaluate the level of moisture or condensation. Minor condensation may be a result of a blocked headlight housing vent.
- To address the issue, you can attempt to open the headlight seal without breaking it. If you feel uncomfortable working with sealants on your own, it may be your best bet to take the vehicle in to a professional.
- While actually breaking the seal is pretty simple, it can be more complex to create a firm seal upon replacing it.
- Before you start, make sure you know where the headlight housing vent is located. The exact location varies across different vehicle makes and models.
- Common causes of headlight housing vent blockage include dirt, debris, spider webs, or dust.
Minor Condensation—Cleaning Out a Blocked Headlight Vent

- Once you have opened the headlight seal and accessed the vent, carefully clean the vent by wiping it down or gently blowing it out with compressed air.
- When cleaning the vent, take care not to accidentally push any dirt or debris into the headlight housing itself.
- Doing so would require breaking the seal to remove it.
Major Condensation—Troubleshooting the Problem
As with most problems, the bigger it is, the more work it will take to rectify it. If you’re dealing with a good deal of moisture in your headlight, you’ll need to take added precautions to effectively address the issue.
- As always, trust your instincts and enlist the services of an auto professional for any obstacles you don’t feel comfortable handling on your own.
- Major condensation means you’ll most likely need to remove the headlight unit.
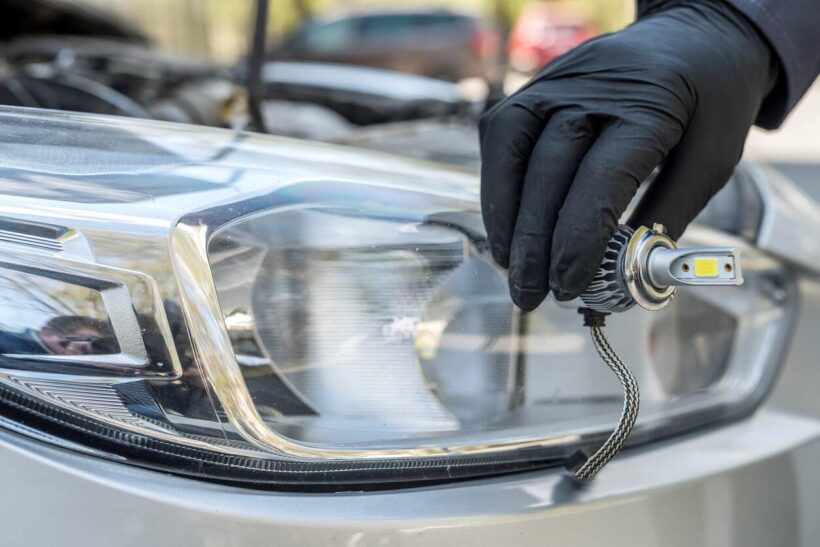
- Once you’ve carefully removed the headlight unit, you can begin the process of removing the bulb and other necessary parts, including the seal.
- For customized guidance relating specifically to your car’s make or model, refer to the owner’s manual.
- This manual will contain detailed instructions for each step in the process, like how to properly remove the bulb, disconnecting any plugs or electronics, and more.
- One pro tip is to use a hair dryer to dry out the moist air inside the unit without breaking the seal, which we know can be challenging to reseal sufficiently.
- The hot, dry air blown either directly into the vent or from the outside of the headlight unit will cause the moisture to eventually dry out.
- Next, you should wait until the unit cools down from the added heat in order to assess whether or not you were successful.
- The next step in addressing the trapped moisture will be more extensive and time-consuming.
- For optimal results, using a heat gun will be necessary to remove the seal, unless your vehicle is equipped with a replaceable seal.
- If you are unfamiliar or inexperienced with using a heat gun, you’re advised to seek professional assistance.
- Again, defer to your car or truck’s service manual for detailed instructions.
- Check to make sure you have all of the proper hand tools and materials, including things like sockets, screwdrivers, silica gel packs, lint-free cloth, and the proper sealant for the job.
- The last thing you want is to be mid-way through the job only to discover you’re missing a key component to the process.
- Remove the headlight seal as well as the clear headlight cover—doing so very carefully to avoid damaging the unit.
- Using a clean, dry cloth, wipe away the trapped moisture. Now that the moisture has been removed, you need to address the problem to prevent it from accumulating in the headlight again in the future.
- The silica gel packs will soak up the remaining moisture by placing them in the headlight assembly. They will also soak up any remaining moisture in the surrounding air.
- Placing these silica gel packs in the right spot is essential—you don’t want them bouncing around and obstructing the light or bulb exposure.
Prevent Future Moisture

This final step is arguably the most imperative, as improperly resealing the headlight housing could lead to repeat occurrences, and all of your hard work would be for naught!
- Check the seal for any damage or debris, using a thin bead of silicone sealant around the factory seal area if needed to ensure a solid bond and prevent future moisture accumulation.
- If your vehicle’s headlight housing is resealable, this is the point at which you would replace the old seal with a new product.
- Perform a quality check on the O-rings before finishing up.
- The O-rings are important because they protect critical components of the headlight housing unit, such as the bulb, vent, electrical connectors, and other key pieces.
- Once everything has been carefully cleaned, inspected, and thoroughly checked, you’re ready to reinstall the headlight.
- Be sure that all pieces, brackets, and angles are properly aligned and firmly in place.
- Test out the headlight to ensure proper function and performance, checking it regularly for any reoccurring moisture.
- If everything appears to be working and running smoothly, with no apparent trapped moisture reappearing with regular checks, consider it a job well done.
If you’re preparing to fix a headlight with trapped moisture, read on for some helpful hints to ensure a more seamless, successful outcome. Do you want to improve the performance of your car’s headlights? Underground Lighting helps car drivers in buying the best car lighting systems. Their dedication to developing top quality products and their commitment to exceptional customer service have allowed them to become a trusted name in the automotive world.
Visit https://undergroundlighting.com/ now.

