Motorcycle enthusiasts are just as responsible for maintaining their bikes as car enthusiasts are with their cars. But while most of us know the sort of maintenance tasks cars go through, not everyone understands the motorcycle tune-up process.
Motorcycle tune-up is essential maintenance. It is a process that involves a series of tasks that need to be done over time. If you notice some of these while riding your motorcycle, make sure to get them done. As a general rule of thumb, the tune-up process happens every six months. In that time, you will complete a series of checks to make sure your motorcycle runs properly.
So, here are a few tips that will help you understand the motorcycle tune-up process.
1. Change of Engine Oil

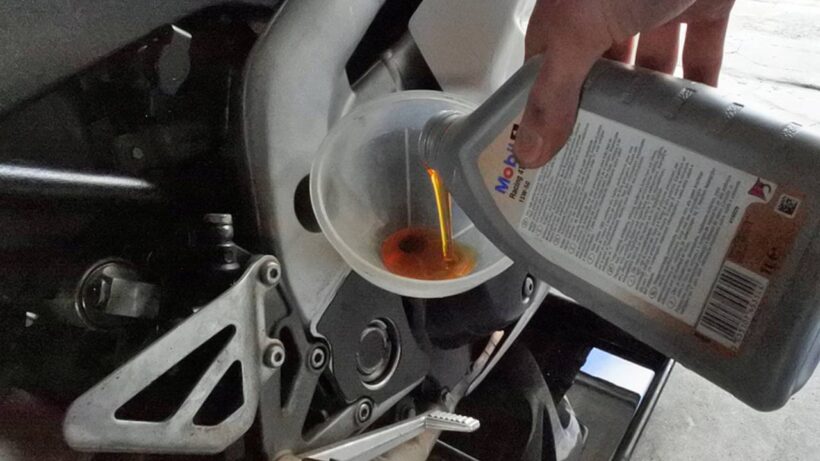
The first item on your tune-up list is to change the engine oil. This is a very basic maintenance requirement that every motorcycle enthusiast must know. The engine oil is one of the few most important types of oil that you need to change. What the engine oil does is lubricate the engine and make sure the engine runs smoothly.
Through time, the oil will thicken and lose its ability to lubricate the cylinders of the engine. While it is recommended to check the engine oil every six months, using more quality engine oil will allow you to go for much longer. Regardless, it is your job to check the engine oil and check if it is starting to thicken.
2. Change of Hydraulic Oil

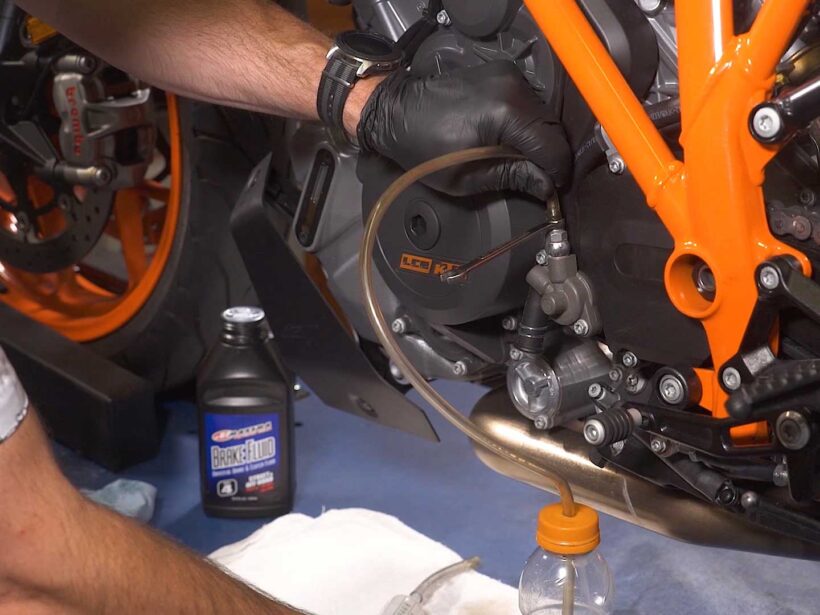
The next type of oil that you need to check during the motorcycle tune-up process is the hydraulic oil. If the engine oil makes sure the engine runs smoothly, the hydraulic oil makes sure your brakes work. So you can imagine how important this particular process is.
Much like the engine oil, you’re supposed to change the hydraulic oil every six months or every 4,000 miles. When checking the oil, make sure that the levels are at maximum requirement. To know the maximum requirement, the canister of the hydraulic oil has a mark that you need to refill to a particular point.
Keep the hydraulic oil to that mark to prevent any costly accidents.
3. Cleaning and Tightening the Chain

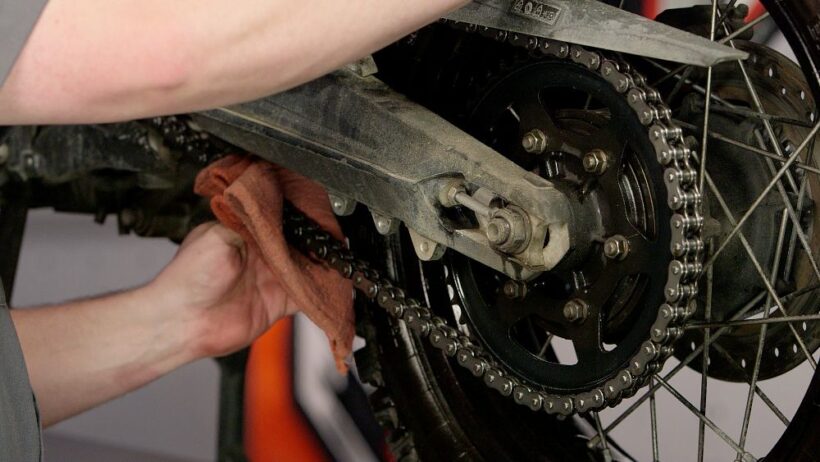
The chain is an important part of your motorcycle that is responsible for transferring the drive from the engine to the wheels. This chain makes the wheels move. Through time, the chain design on newer models is built to last longer and require less maintenance.
But what doesn’t mean cleaning and tightening shouldn’t be on your motorcycle tune-up to-do list. The chain goes through a lot of friction. Naturally, dirt and debris can find themselves in the chain area. Cleaning should be a priority, while tightening prevents the chain from slipping out.
When at it, makes sure to grease the chain to run smoothly. As mentioned previously, newer models come with a more sophisticated chain design that eliminates a lot of issues with older models. But that doesn’t mean you shouldn’t still clean and tighten the chain. To do that, make sure to visit BT Moto and enquire about their moto tune-up services.
4. Checking Tires and Wheels

The tune-up process is essential in making sure every part of your motorcycle runs as intended. Naturally, the tires and wheels are some of the most important parts that require regular maintenance.
When showing up for a tune-up process, the professional will do a thorough inspection of your tires. They will look for cracks on the rubber and figure out if you need new tires. That’s essentially what you’ll be doing too.
Finding cracks on the tires is easier than uncovering significant damage on the wheel itself. But if you do notice significant wear of the rubber, then you need to get yourself new tires. New tires usually come with a detailed guide on how many miles they can go until needing replacement.
The wheels are more long-lasting, but if they have gone through significant damage, then your best bet is to get them changed.
5. Lubricate Bolts and Nuts
Much like a car or any other vehicle, a motorcycle has lots of bolts and nuts. Your job during the motorcycle tune-up process is to make sure they’re properly lubricated. Otherwise, you’re risking the bolts and nuts falling off.
That’s not something you want as bolts and nuts keep the whole bike together. This is one of the most basic inspections during the tune-up process and one that also comes with a detailed guide. When you buy a new bike, the manual will tell you where the bolts and nuts are and how often they need lubricating. When on the subject of maintenance, you need to also clean the bolts and nuts.
6. Cleaning and/or Changing the Filter
Your bike’s filtering system makes sure nothing bad goes into the engine. While air is important when cooling the engine, the filtering system makes sure no moisture, dirt, and other particles go to the engine.
But to do its job as intended, the filter needs to be regularly cleaned. This is yet another important step in the moto tune-up process. Since the filter essentially keeps the engine healthy, you’d want to check in what state it is. If it needs cleaning, then you clean it.
If it needs replacing, then you replace it. Cleaning or changing the filter system might be a more complicated process. Thus, it might be better to go to a moto tune-up professional and get it done. Regardless, this is something you must do as anything other than peak performance hinders the life of the engine and the bike itself.
Conclusion

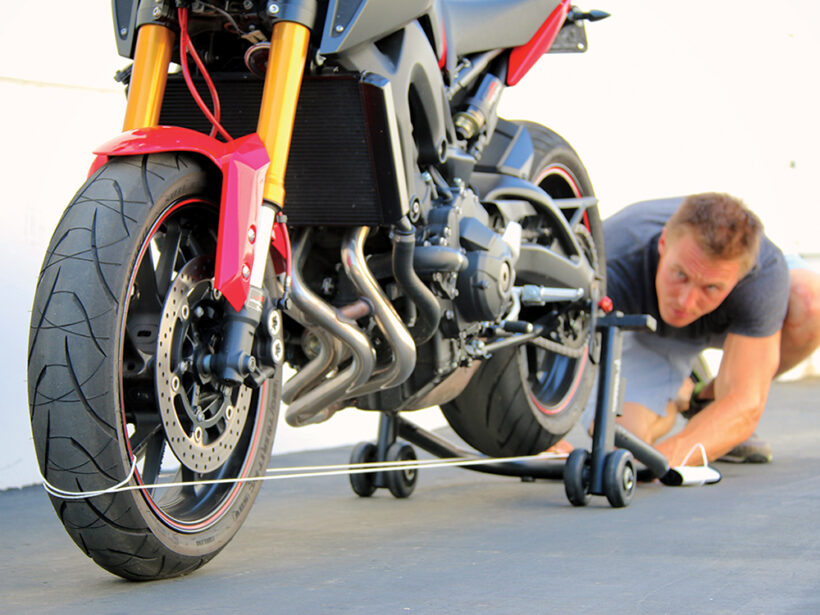
That concludes our short guide of the things you need to understand of the moto tune-up process. These are all regular maintenance checks that you need to perform every six months or 4,000 miles. The moto tune-up process includes plenty of other tasks such as wheel alignment and checking shock absorbers, checking brake pads, and plenty of general routines.
So don’t sit idly and take your motorcycle to a professional when the time comes.

