
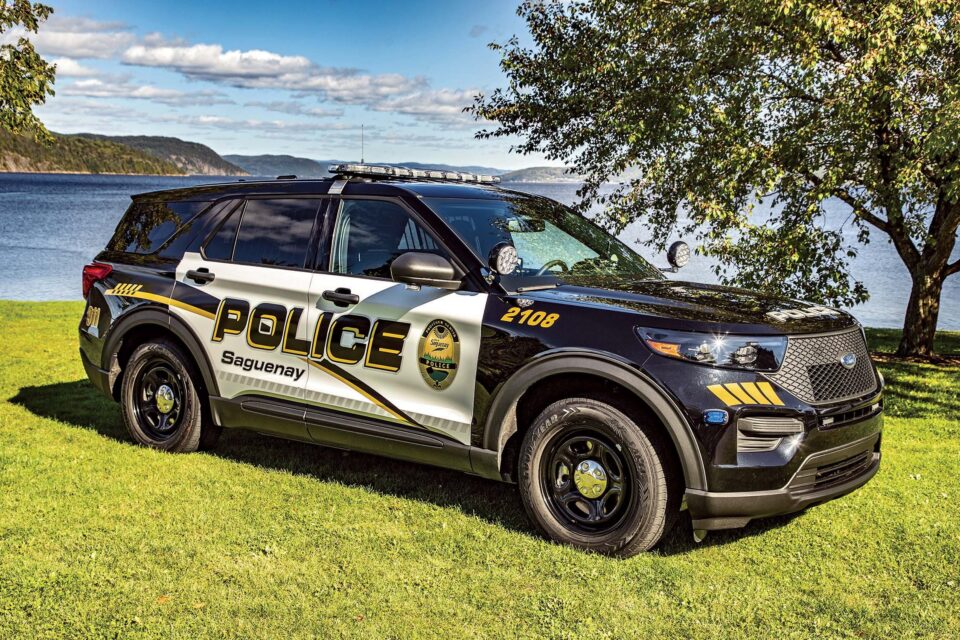
A patrol car isn’t a blank canvas. Once a graphics vendor gets a design request, the vehicle already has a roof-mounted light bar, a push bumper on the front, tinted rear windows, antennas, and sometimes a spotlight or two bolted to the A-pillar.
Every one of those add-ons changes where a decal can sit, how a stripe can wrap, and if a shield placed on the door will stay visible once the vehicle has all required equipment.
Police car graphics need to account for all of that hardware before the design goes to print. Departments that treat graphics and hardware as two separate purchases can face problems after installation, such as a decal that runs straight through a push bumper mount or a chevron partly blocked by a spotlight bracket.
Here, we’ll cover what to plan for before print so the final graphics fit the actual patrol car rather than only the flat mockup.
Why Patrol Car Graphics Are Never a Flat Design Problem
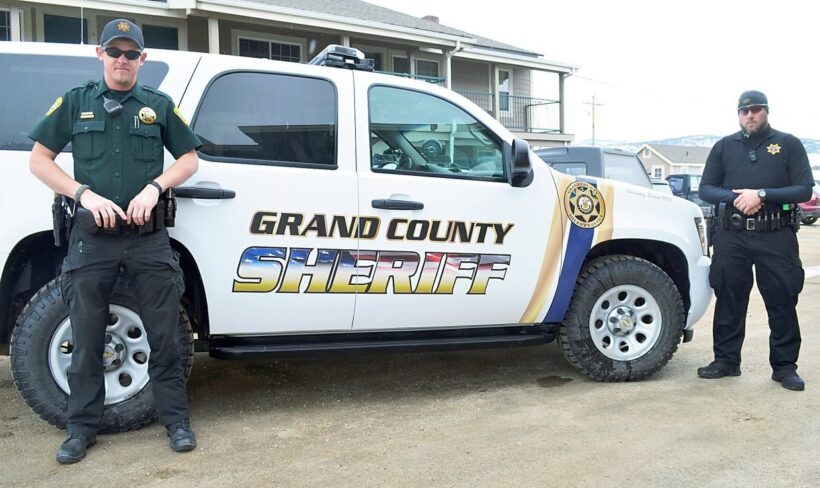
A design proof usually shows up as a flat side view of the vehicle, and that’s a fine starting point, but it hides the parts of the job that cause the most trouble.
Rooflines curve. Push bumpers stick out and cast shadows. Rear windows already have a tint film on them before the graphics vendor ever gets involved.
A design that looks balanced on a flat rendering can look crowded, cut off, or oddly spaced once it’s wrapped around the actual shape of the car and squeezed between the hardware already mounted to it.
You’ll need more than a good eye for design to get this right. It takes a vendor who asks about the hardware list before finalizing anything, and a department willing to share the specifics rather than assuming the vendor will figure it out on-site during install.
Working Around the Light Bar
Roof Curvature and Antenna Clusters
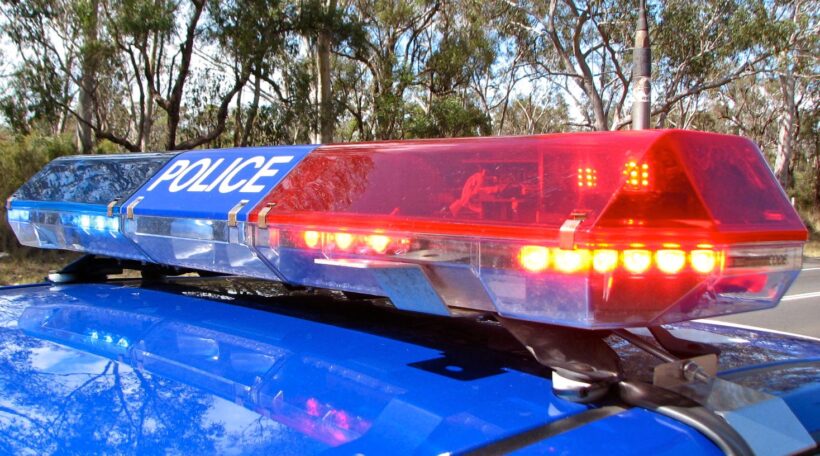
Most roof-mounted light bars sit on brackets that raise them a few inches above the roofline, and departments often cluster antennas nearby for radio and GPS equipment.
None of that affects door graphics much, but it matters for any design element that was supposed to run across the roof or up over the windshield header.
A roof graphic needs to account for the light bar’s footprint, its wiring channel, and enough clearance that a technician can still service the bar without peeling back a decal to get to it.
Where Graphics Stop and Lighting Starts
Most departments install light bars on the roof, although magnetic and windshield-mounted units are still used in some situations.
Whichever mounting method you have, don’t crowd the light bar with graphics. Leaving a small gap helps keep the lights fully visible and prevents the surrounding decals from being damaged if the light bar is changed down the road.
Designing Around the Push Bumper
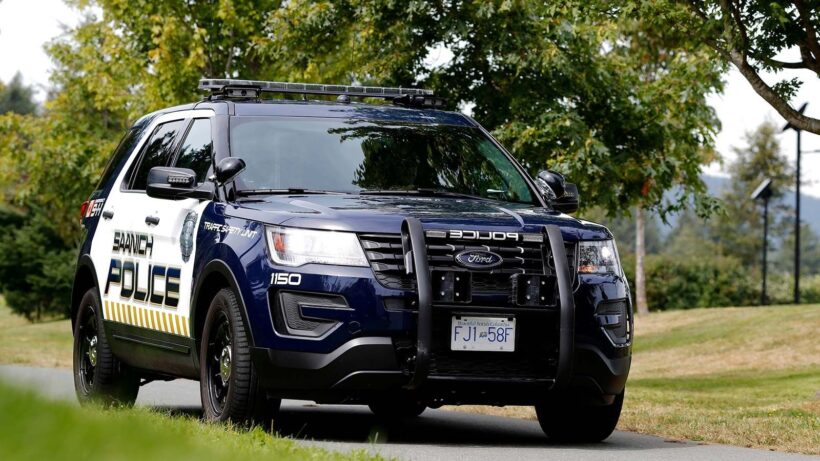
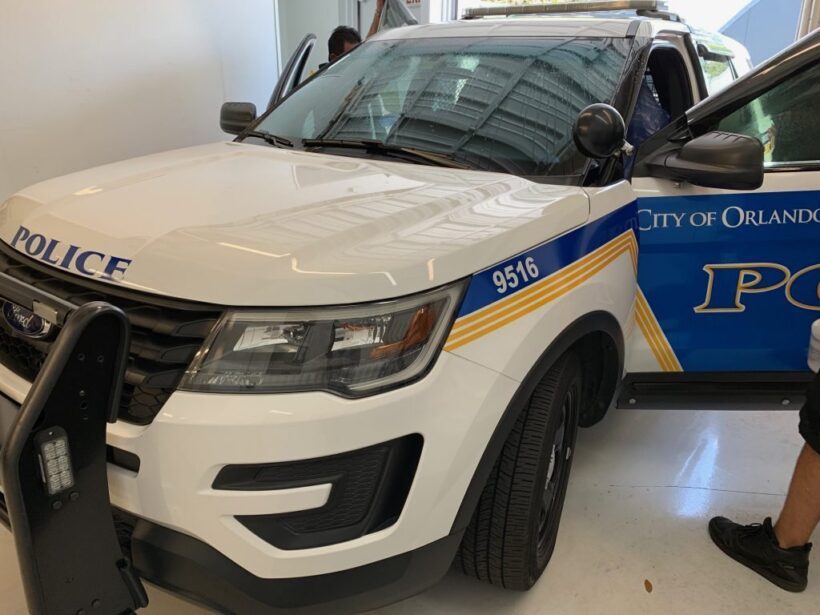
Push bumpers have a bigger effect on the front-end layout than many departments expect.
They also become a common mounting point for warning lights, often with two lights on each side and one placed near the leading corner of the vehicle to improve visibility when entering an intersection.
Any front graphic, chevron, or badge needs to work around those light housings rather than through them, and the bumper’s own mounting hardware often covers part of the lower grille area that a flat design might have assumed was open space.
The safest approach is to get exact measurements and photos of the push bumper installed on the vehicle (not just the bumper by itself) before finalizing any front-end graphic.
A vendor working from a spec sheet alone may design something technically accurate that still doesn’t sit right once the bumper and its lighting are in place.
Window Tint Changes What Graphics Can Do
Tint Deletion and Cutouts for Interior Light Bars
Window tint reduces how much light passes through in both directions, which becomes a problem when a warning light is mounted behind tinted glass rather than on the roof.
Some manufacturers offer the option to delete the tint at the top of the windshield specifically for departments planning an interior light bar, and in other cases, installers cut away a section of tint directly in front of the light so it isn’t dimmed.
Either approach needs to be decided before window graphics or rear decals go on, since a cutout added after the fact can conflict with a design that assumed full tint coverage.
Tint Exemptions Vary by State
Unlike civilian vehicles, police cars are usually allowed to exceed standard window tint limits under state law.
Exactly how dark the windows are depends on the department’s policies, and that decision has a direct effect on window graphics.
Designs that look great on lightly tinted glass can appear much different on darker windows, especially etched or frosted decals, so it’s smart to verify the tint before production.
A Few Common Add-Ons Departments Forget to Plan For
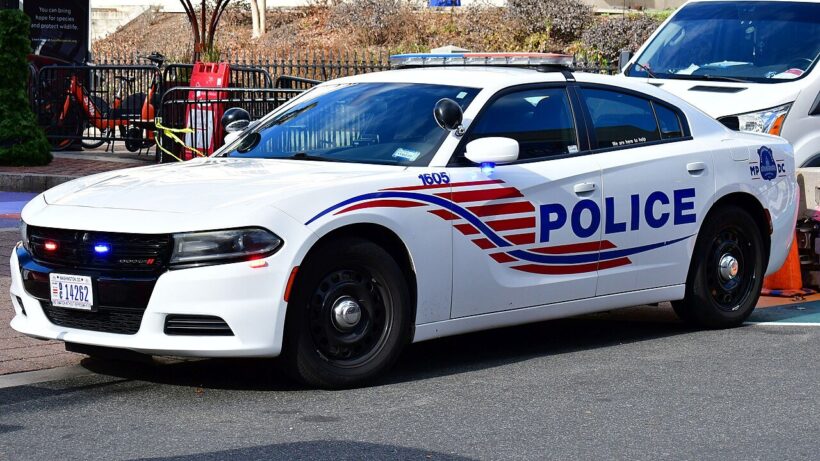
A few items get overlooked more often than they should when a graphics order goes out:
- Spotlight brackets on the A-pillar, which can sit close enough to a windshield banner or door graphic to interfere with placement.
- Push-to-talk antennas and roof-mounted GPS pucks, which need clearance similar to the light bar itself.
- Prisoner partition hardware and rear door child locks, which occasionally affect where interior-facing decals or window film get applied.
- Trunk-mounted equipment racks, which can shift where a rear bumper decal or trunk lid graphic needs to sit to stay visible.
Working With a Vendor Who Designs Around Hardware—Not Photos
The departments that get the cleanest results tend to send more than a photo of the vehicle. They send the hardware list: light bar model and mounting height, push bumper make, tint percentage, and any brackets or antennas already installed.
It also helps to send photos of the vehicle from several angles once the hardware is mounted, not just a stock photo of the make and model.
Real vehicles vary enough from factory specs (aftermarket push bumpers, non-standard light bar heights, locally sourced antennas) that a design based on generic vehicle dimensions can miss the mark on a specific fleet.
A Simple Process That Keeps Design and Hardware in Sync
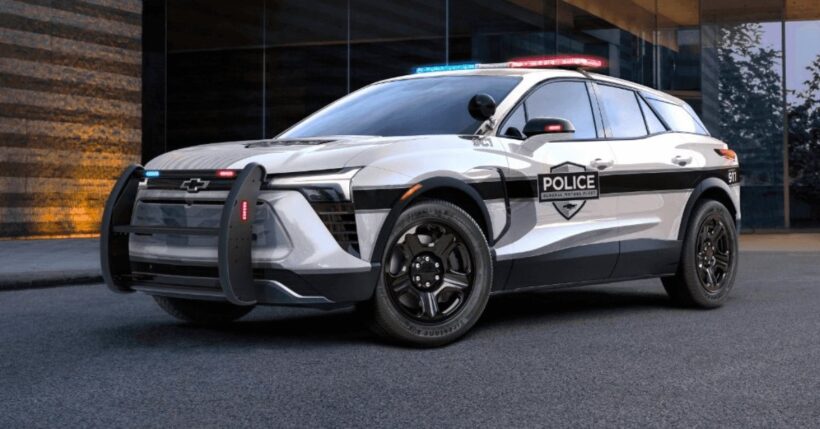
Finalizing the graphics is the easy part once the vehicle specs are confirmed. Take a quick look at the light bar, push bumper, window tint, and any antennas or other mounted equipment first. That little bit of planning can save a costly reprint later.
Patrol cars carry a lot of equipment for a reason, and graphics need to work with that equipment rather than compete with it.
A design that accounts for the hardware from the start looks intentional on every vehicle in the fleet, instead of looking like it was stretched to fit around whatever happened to already be bolted on.
