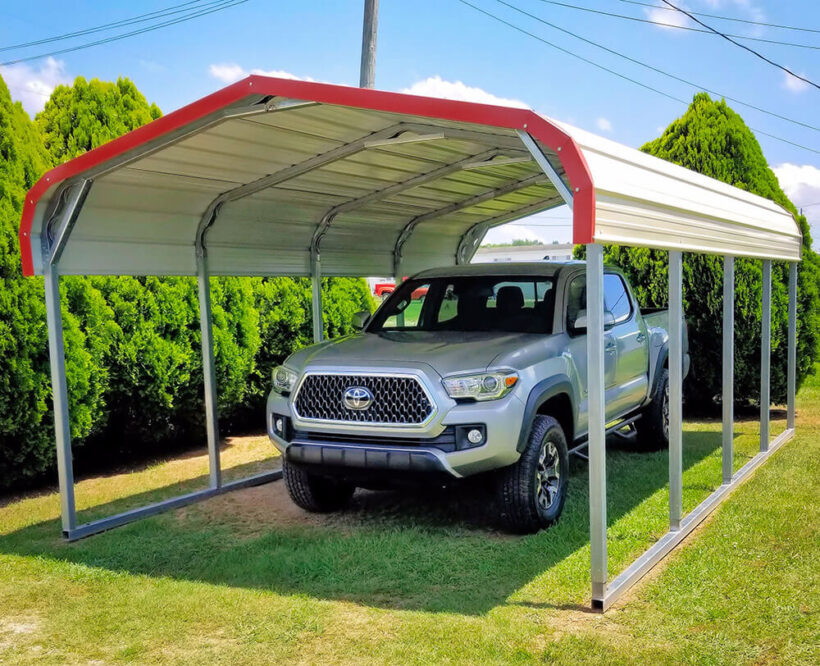
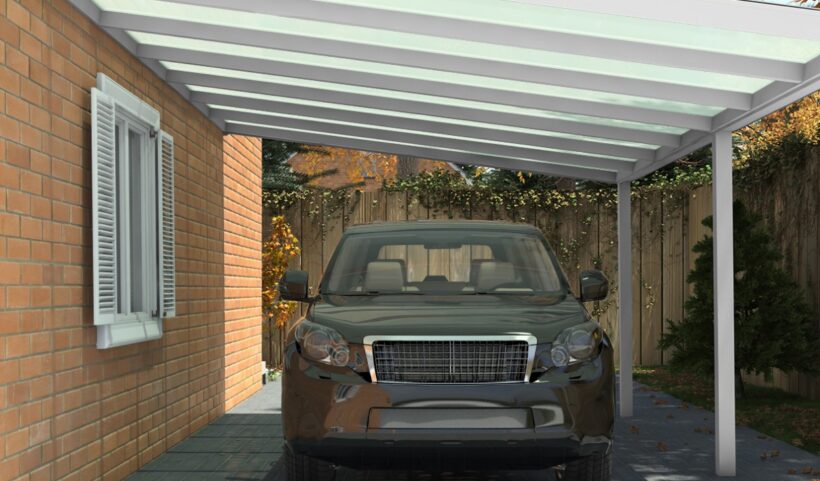
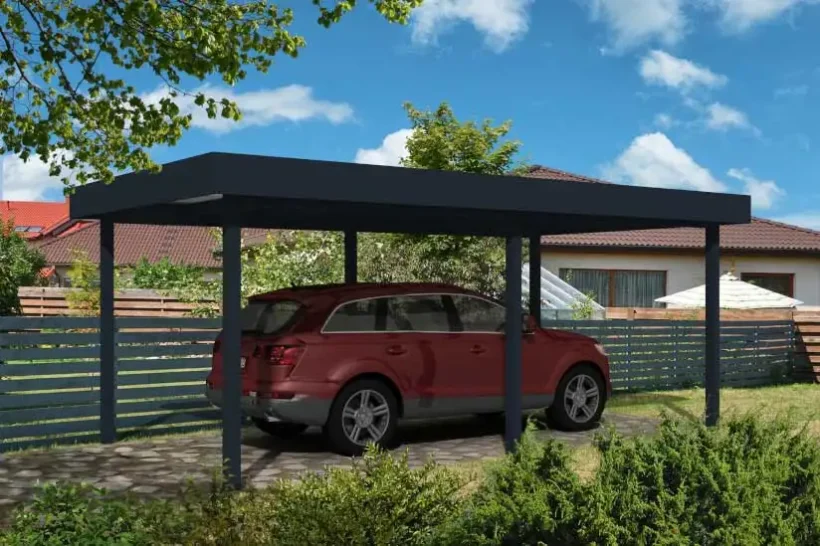
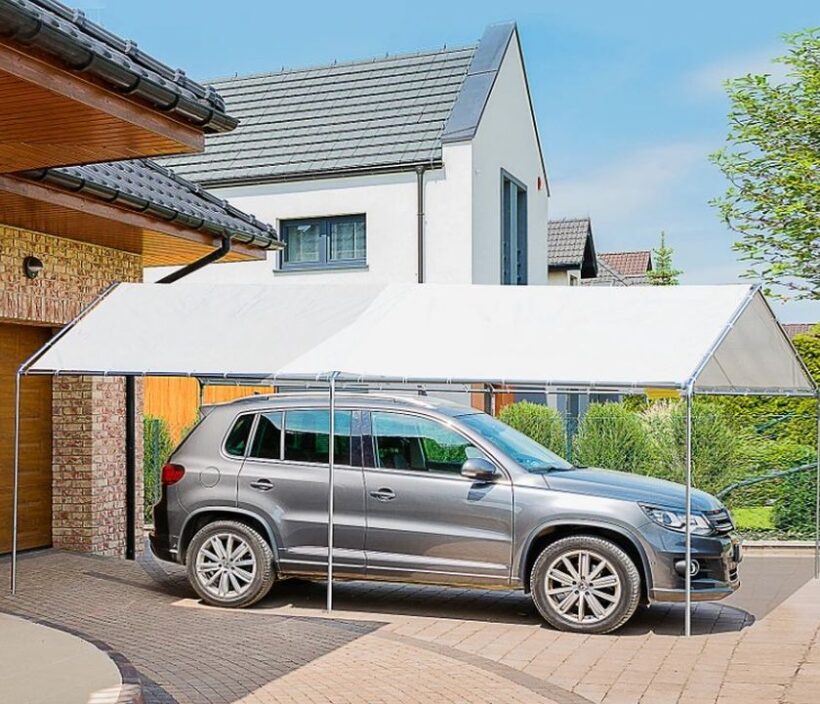
A car shelter is one of the most necessary items that every car owner should have. It prevents damage to the car from different weather conditions and other things. With the carports, you will be completely peacefully knowing that your car is effectively secured in front of your house.
For those who do not know this, a carport represents a cover or shelter that is designed with the purpose of protecting the vehicle. As time pass, every vehicle can get damaged by rain and snow or some items that wind brings.
Carports are usually attached to the wall of the house, however, there are also the ones that are considered free-standing by themselves. The structure of a car shelter does not necessarily have four walls, it can only have one or two of them.
If you decided that you need a car shelter for your vehicle, you can find different budget-friendly yet quality options for car shelter to buy at Aosom. However, if you are more of a DIY type of person, we prepared an article that will guide you through the process of building your own car shelter on a tight budget.
What you should know about building your own carport?

The first thing that you should know is that a good and stable carport is usually made of metal, whether it is steel or aluminum. These materials are going to provide optimal protection to the vehicle from harmful sun rays, dangerous weather conditions, and some hazardous effects of storms.
Since the created car shelter structure comes with a frame and a covering, a person will have an open space. After conducting a financial analysis, it is more economical to build a carport than to build an extension to the garage. Since it is a highly budget-friendly option, a carport makes a great solution when it comes to protecting your vehicle.
In most cases, people rather decide to hire a professional person when it comes to building a car shelter. However, if you are capable to make a structure and you want to save money, you can start by doing the project on your own. In this article, we prepared a guide that will help you achieve your goal and successfully build and attach the carport to the house wall.
First, Prepare the Ground
The primary thing you need to do is prepare your ground for the project so it can get the necessary building permits. You just need to go to the local or city planning office and obtain the necessary assignment of ensuring that the project is up to code.
After that, you should start collecting all required construction materials for the realization of the DIY project. As we said, in most cases, people are deciding to purchase a metal structure, however, you can consider a wood structure as well.
It is up to you which material you are going to choose considering both the design of your house and the price of the material. In case you decide to use wood, we suggest you pick the pressure-treated lumber. On the other hand, if your option is a metal structure, we would suggest you select the galvanized type.
Now, you can start preparing your ground for the car shelter project by starting to measure the available space. For most vehicles, you will need to measure at least five meters or 16 feet long and 9 feet wide open space.
The rectangle needs to be plotted on the ground and you are going to need six posts because it requires one for each corner of the rectangle and two of them for the idle portion of the length. If you need to level the ground, do not skip that step because it is a very important one. In the case you want to design a car shelter on an already existing concrete pad, that option is also practical. If it is necessary, you can also pour ground cover. There are different ways to do that, however, you can pour concrete or just build it atop the already existing concrete.
Second, Build the Beams

Now, you can start digging holes for the posts. Every post that you dig must be two feet deep or even deeper than that, so you can get a stable structure. After you finish this part of the hob, you can not set the six posts into those holes. We want to remind you not to forget to pour six inches deep of concrete inside the holes before you place the posts. It would be wise to attach the front and the back beans primarily and after follow other side beams. You will see that they are going to provide you with efficient security of the structure.
Now, Build the Roof
We come to the point where you need to fasten the rafters to the side beams. They are measured 2x4x10 feet and their purpose is to provide support to the roof. You can fasten the rafters with the hanger or the notch technique. Whatever option you choose, the back and front rafters must be fastened with the back and front beam. At the same time, the remaining rafters need to be arranged in the right way from each other. After that, you can fasten the plywood roof boards to the rafters.
After that, Check the Structure’s Stability
Once you complete the job of roofing the carport, you can take time and test the stability of the structure you created. Your goal is to inspect all possible portions to see whether they are solid. We suggest you apply an excessive amount of movement to the built structure and if you notice that the carport requires even more strength and stability, you must add braces for the reinforcement purpose. This will elevate the strength effectively.
Finish the Job

When it comes to the finishing touches of the car shelter you built, you should caulk the plywood roof seams and fill the gaps between the boards which will keep the elements out. After that, make the surface to be waterproof. Now, you can fasten the shingles on top of the plywood elements and reinforce the joints with metal plates.

