If you’ve been riding your dirt bike for many years now, chances are, it has started to show some aging signs. Probably not with the performance, but with the appearance. When your dirt bike looks tired, you might want to transform it using original graphics. Basically, original dirt bikes graphics are MX decals or stickers made to improve or change appearance.
What You Need
You will need several things before you start installing graphics to your dirt bike. Some of these things include the following:
- Clean or new plastics
- Microfiber clothes
- Isopropyl alcohol in spray bottles
- Graphic kits
- Heat gun or hair dryer
What Options Do You Have?
Ever heard of this saying – there are different ways of skinning a cat. The same adage applies to graphic kits, because there is no wrong or right way to install. Some people prefer using elbow grease, which may work just fine. However, we don’t recommend this approach. Why? Such graphics end up being sticky and not malleable. This means you must get them straight, and in this case, you risk ripping them off. Another technique is wet application. In this application, bikers use soapy water so as to lubricate sticker kits and plastics. This enables them to place the graphics on and then slide them until they have them in the right place. But the downside of this method is that, although bikers believe soapy water will dry, there will always be soap residues below the graphics. Usually, this compromises the strength of adhesive and can make your kits to peel off with time.
Installation Steps
Based on the grade and thickness of materials used, you might find it more difficult to install some products. Bikes, too, can also make it more challenging to install your graphics. But if you want to install them easily, use these steps that we recommend:
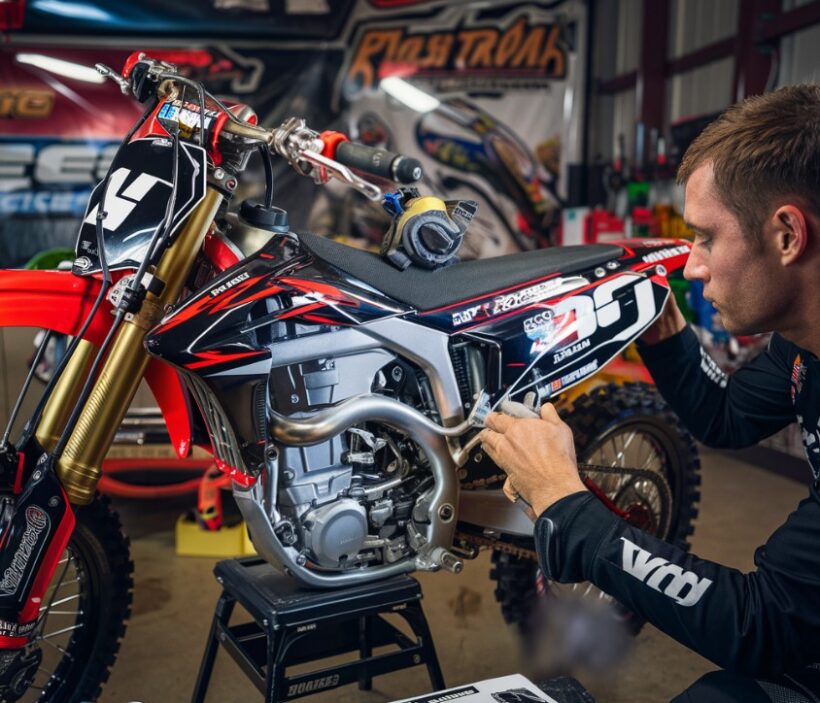
- Remove the old graphics – To make the entire process much easier, start by getting rid of the old graphics. In many cases, you might need to first kneel down and then work with everything, which has been attached. Use heat to make sure the adhesive comes off. For this piece of work, use a heat gun or hair dryer, but be careful not to melt the graphics.
- Clean the surface – It will be easy to clean the surface up when you remove the adhesive. To clean the surface, use the right contact cleaner and one or two micro-fiber towels.
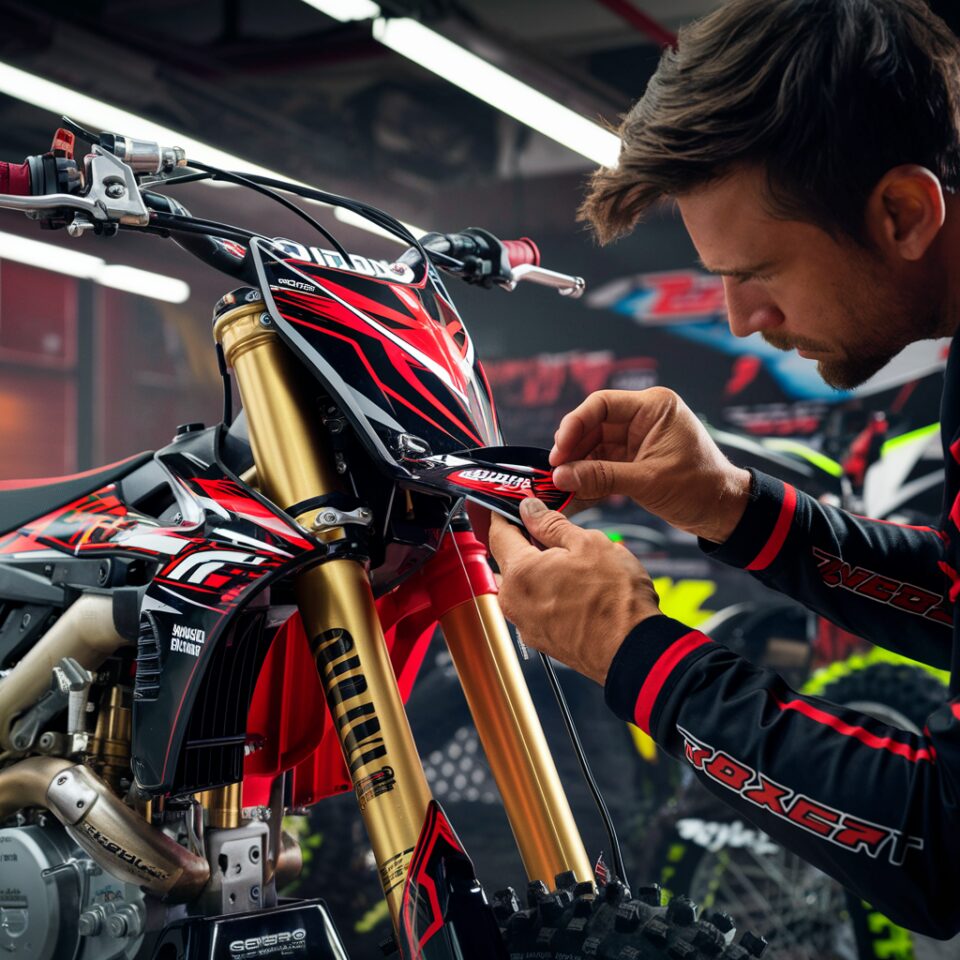
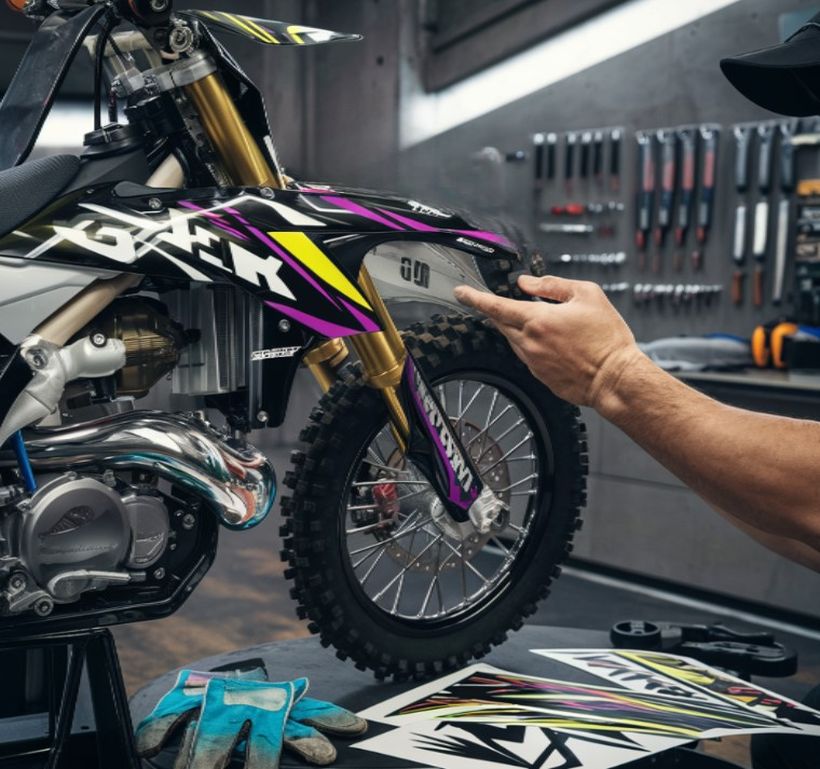
- Install new graphics – Start the installation by picking parts of the plastic you wish to apply your graphics on. You’re free to start from anywhere, but many people prefer working their way back. It is upon you to make the application easier. For that, you can use a hair dryer again to heat up the new graphics. As you install your graphics, remember to work on one direction. This will minimize the number of bubbles and creases.
Tips for a Professional Finish
The bottom line is that, applying new graphics to your dirt bike doesn’t have to be difficult. For a symmetrical and clean look, just make sure you have the right tools and pay more attention to the details.
Additionally, taking your time with the process is crucial. Rushing through the installation can lead to mistakes, such as misaligned graphics or air bubbles, which can detract from the overall appearance of your bike. Patience and precision are key to achieving a professional finish.
Create a Controlled Environment
One important tip to remember is to work in a controlled environment. A garage or a similar space with minimal dust and wind can help prevent debris from getting trapped under the graphics. Dust and other particles can cause bumps and imperfections that are difficult to fix once the adhesive has set.
Invest in Quality Graphics Kits
Another consideration is the quality of the graphics kit itself. Investing in high-quality graphics from reputable manufacturers can make a significant difference. These kits are often designed to be more flexible and durable, making the application process smoother and the end result more resilient to wear and tear.
Get a Helping Hand
It’s also beneficial to have a friend assist you during the installation. Having an extra pair of hands can make it easier to align the graphics properly and smooth out any bubbles or creases. This can be particularly useful when dealing with larger pieces that are more challenging to handle alone.
Post-Installation Care
Post-installation care is equally important. Once the graphics are applied, avoid washing the bike or exposing it to harsh conditions for at least 24 hours to allow the adhesive to set properly. After this period, regular maintenance and cleaning can help prolong the life of the graphics. Use mild soap and water for cleaning and avoid abrasive materials that could scratch or lift the edges of the decals.
Troubleshooting Installation Issues
If you encounter any issues during the installation, such as stubborn air bubbles, there are a few techniques you can use to address them. For small bubbles, a needle can be used to puncture the bubble and release the trapped air, followed by smoothing out the area with a squeegee or your fingers. For larger bubbles, carefully lifting and repositioning the graphic might be necessary.
Choose the Right Design
In terms of aesthetics, think about the design and color scheme of your graphics. Choose a style that complements your bike’s existing color and design. Custom graphics can also be an excellent way to express your personality and make your bike stand out. Whether you prefer bold and vibrant designs or more subtle and sleek looks, there are plenty of options available to suit your taste.
Protect Your Investment
Lastly, don’t forget to protect your new graphics. Consider using a clear protective film over the graphics to shield them from scratches and UV damage. This extra layer of protection can help maintain the fresh look of your graphics for a longer period, ensuring that your bike continues to look its best.
Conclusion
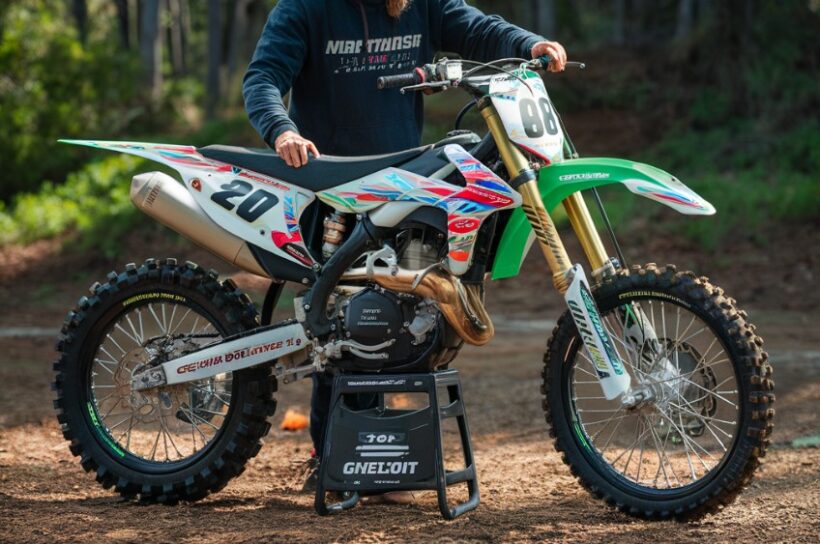
In summary, installing original graphics on your dirt bike can rejuvenate its appearance and make it look brand new. With the right tools, a clean workspace, and a bit of patience, you can achieve a professional and lasting result. Pay attention to the details, take your time, and enjoy the process of transforming your bike into a personalized masterpiece.